In the past rope, nails, screws, and even sticks were used to keep tiles equidistant from each other during installation. Luckily by the nineteen fifties the need for much more reliable and convenient spacers for tiles helped to bring about the creation of the types we still use today. Tile spacers are the easiest way to make sure your tiles are set at a fixed distance from each other which is a must for a professional looking installation.
What Are They And How Do They Work?
Typically made from flexible plastic or rubber, spacers are set in the corners of tile when it is being laid. This guarantees that they are spaced evenly apart during the installation and therefore will give you grout lines that are even in width. They are then removed once the tile adhesive is dry so that grout can be applied to the joints.
Uses
Spacers can be used in a few different ways and applications but of course the main goal is to keep tiles equally distant. This could be in the main body of the installation for creating grout lines or where the tile meets the walls or another material for creating what are known as expansion joints that use caulk.
Of course they can be used both on floors and walls, so your floor tile spacers can also often double as wall tile spacers. It simply depends on the size needed. There are a few different choices however depending on what you are trying to do which are listed in the section below.
Spacers are not only used when installing tile but when planning too. When creating what is known as a dry-lay tiles are laid out without any adhesive but while still using the spacers in the pattern or layout you will be choosing.
This is how to use tile spacers to help you get a real picture of what your installation will look like since they provide the real width of your grout lines so you can get the most accurate visual. A dry-lay will also help you to see if any cuts with your tile saw or adjustments in your layout need to be made before actually setting your tile.
Types And Sizes
There are a few basic types you will come across when shopping for spacers each with different uses and even sizes. Remember what size tile spacers you will need depends on the grout width you are trying to create.
X Shaped Tile Spacers
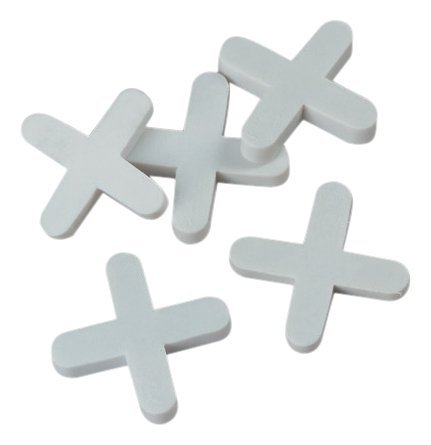
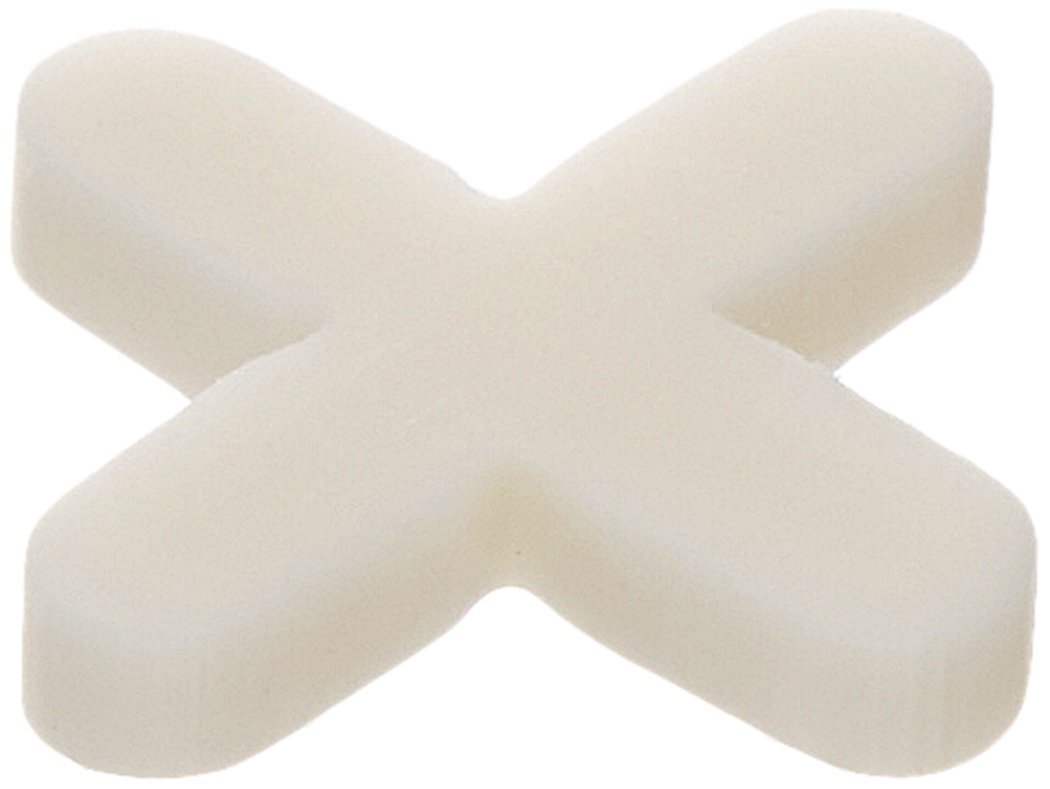
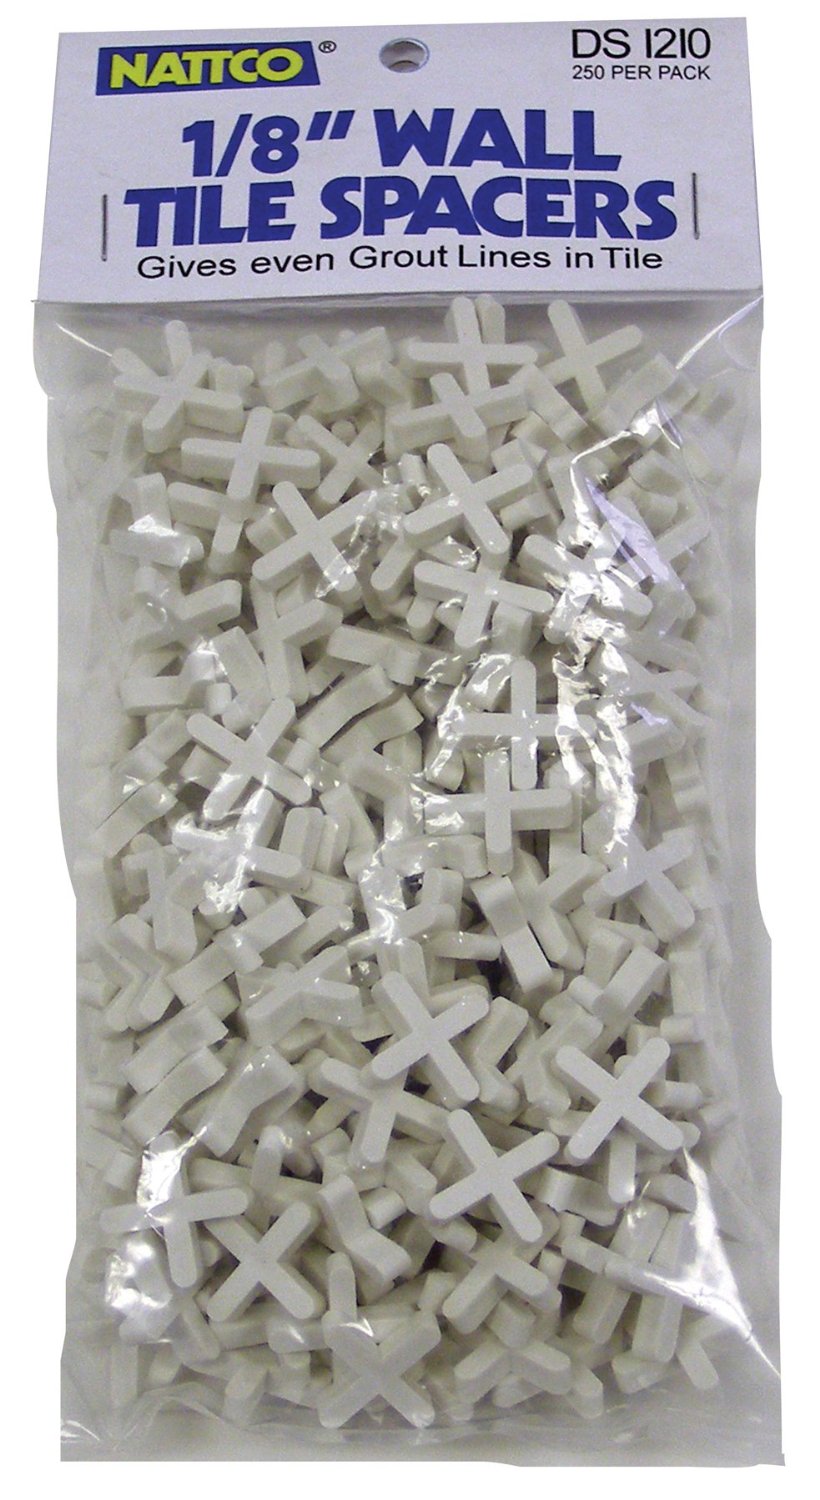
These are the most commonly seen and used spacers and are in the shape of an x as you could guess from their name. They are used where four tiles meet such as in the main body of the installation. You can usually find them anywhere from 1/16” up to 1/2″ in size.
Tavy Tile Spacers
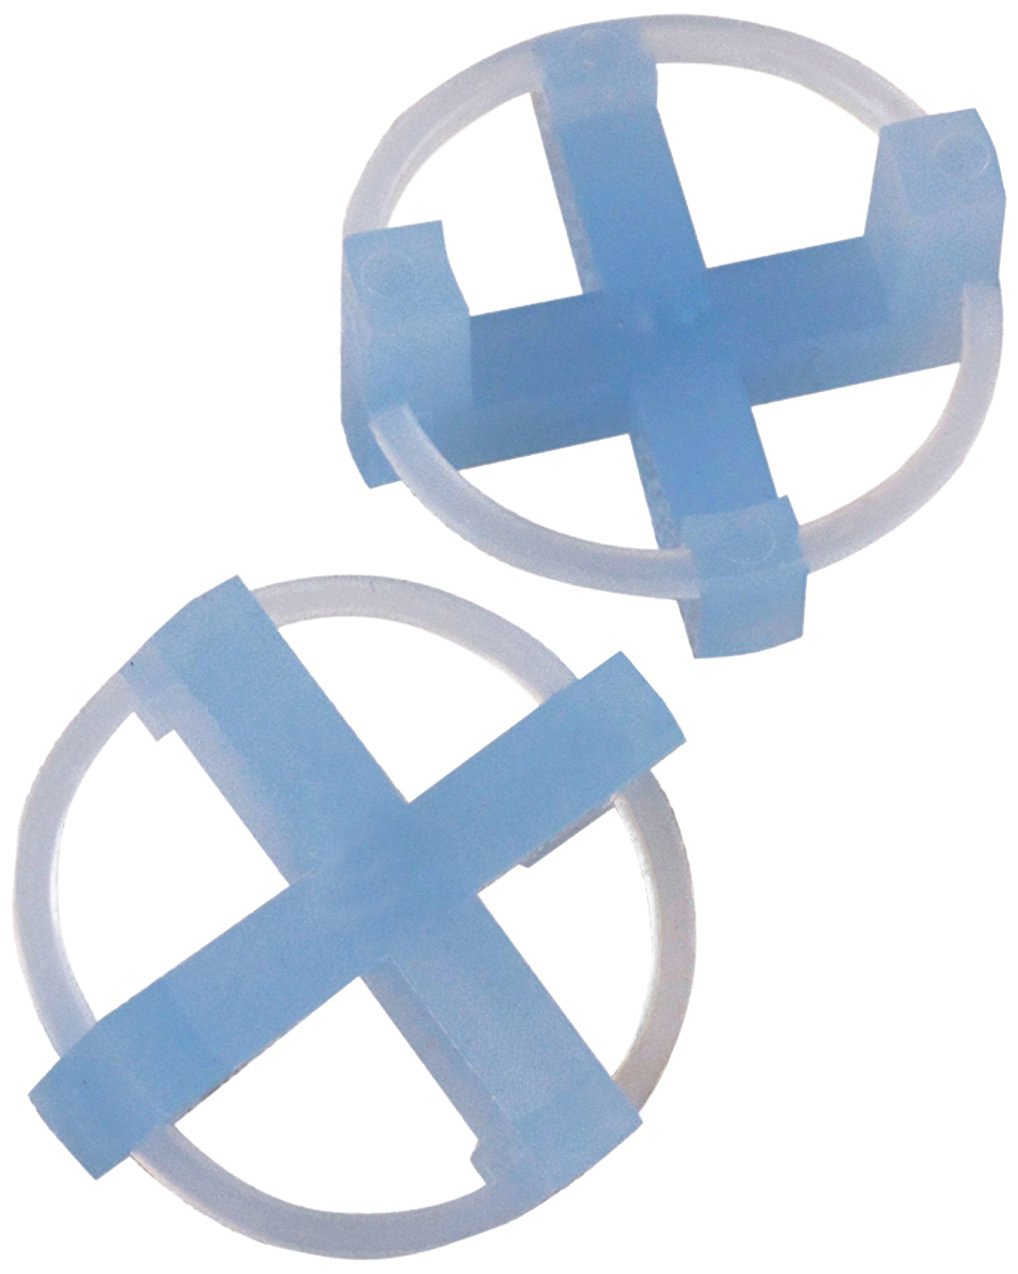
Another take on the x shaped variety are what are called Tavy tile spacers. These have a circular ring around the x that helps prevent them from bottoming out into the adhesive and also allows you to see all four corners of every intersection. The Tavy type normally can be found from 1/32” up to 3/8”.
T Tile Spacers
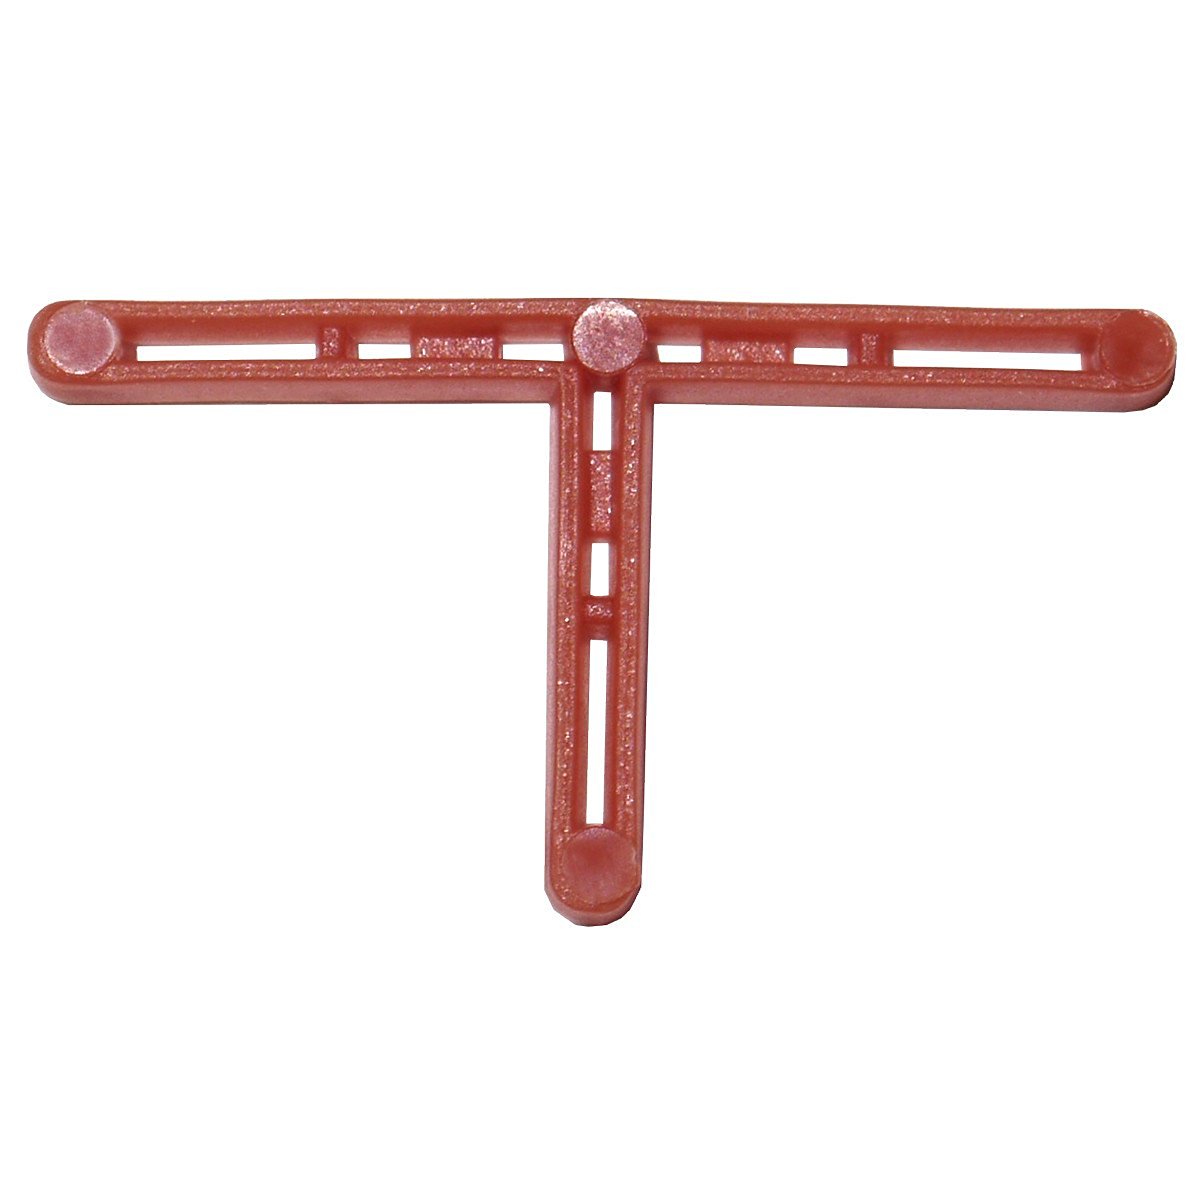
T shaped spacers are normally used where three tiles meet. An example would be where the field tile meets trim or when installing tile set in an alternating layout like the running bond tile pattern. They come in sizes ranging from 1/32” up to 3/8”.
Horseshoe Tile Spacers
Also simply called u shaped spacers this type is usually used on countertops to level the plywood top before adding backer board and are available in 1/16”, 1/8”, and 1/4″.
Wedges
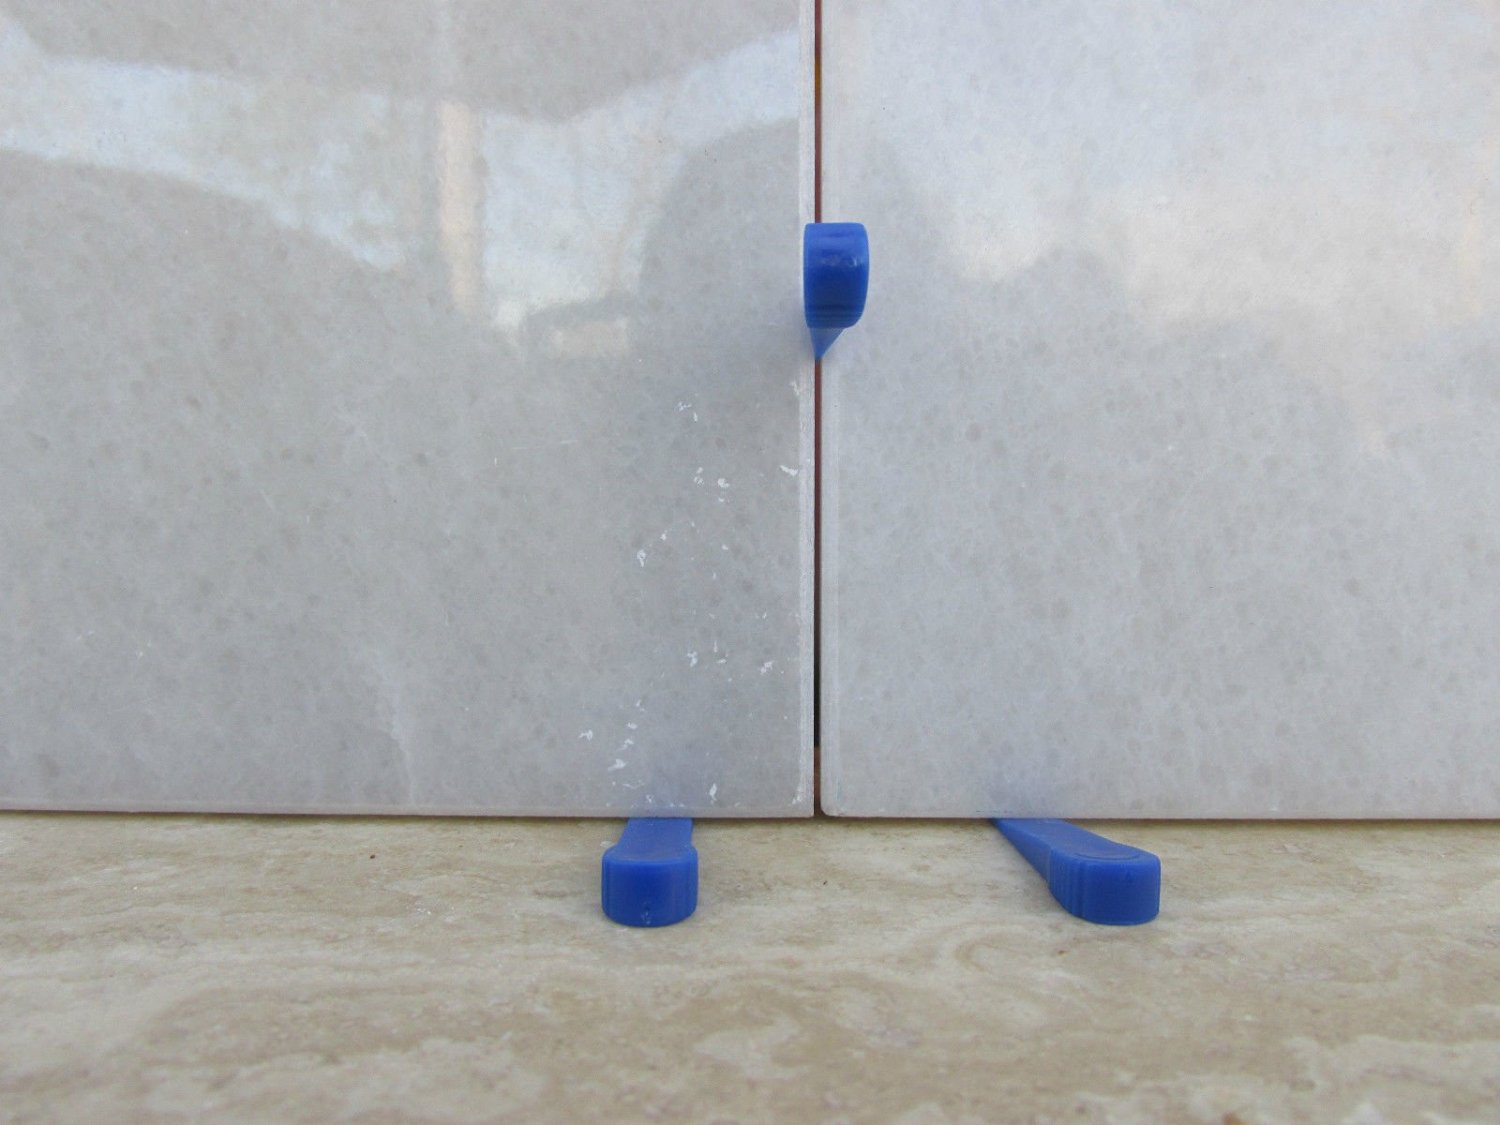
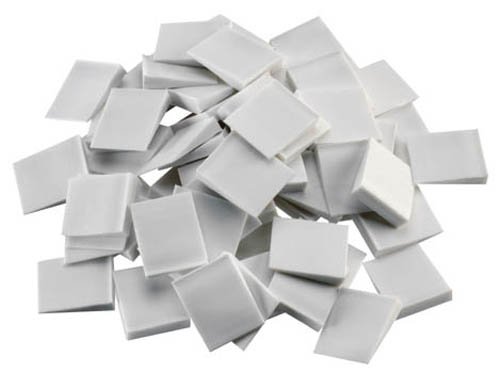
Yet another choice are small-sized wedges manufactured from flexible plastic. They are commonly used as spacers for tile on walls and to adjust the height of uneven handmade tile. You can stack them one on top of another to create wider spaces between the tiles if needed.
Tips To Keep In Mind When Using Tile Spacers
-When the project you are working is using wide grout joints, be sure to use the same exact size tile spacers as you used originally when creating the joints between trim pieces and also between the trim and the rest of the tiles in your installation.
-When the layout has been set and before the tile adhesive hardens you can use needle-nose pliers or even tile nippers to help you remove spacers quickly and efficiently before grouting.
– Some professionals will leave spacers in when grouting, however this will end up leaving a layer of grout over the spacers which is much thinner, and therefore also lighter in color than the grout surrounding it. This effect is not something you want as it will take away from the look of your grouting job and installation as a whole. It is known as “ghosting.”
-When installing mosaic tile be sure to add your spacers so that they create a gap that is equal to the ones in the sheet of tiles itself for a uniform appearance.
-Although it’s not their real function tiles spacers can actually be used as a handy tool for removing extra thinset in-between tiles which have been freshly set when you’ve gotten started with your project.
-It’s easy to overlook, but it’s very important to make sure that your tiles are flush up against your spacers in order to achieve perfect spacing.
For accuracy and exact distances between tiles, spacers are must. And with the info and tips provided above you are now able to choose the best tile spacers for your individual project.
Click Here Now to start shopping for tiles spacers!
